6 COOL DOWN EXERCISES YOU MUST TRY AFTER YOUR NEXT GROUP FITNESS CLASS
If you are someone who regularly attends one of our workout classes in Kansas City, you know how intense they can be. For the duration of the entire class, you give it your all, pushing yourself to the limit. Then, once class is complete, you leave feeling winded and worn out but satisfied with your work.While you may be tempted to immediately rush off to the locker room to shower, there is actually one final step you shouldn’t skip: cool down exercises.
We know we are adding one more thing to the equation, but if you have never done cool down exercises following a group fitness class before, it is certainly something worth looking into. There are a myriad of health benefits to this, including improving joint health and range of motion, decreasing the risk of injury and even assisting with muscle repair.
To learn more about what exercises we recommend, keep reading! We know that these six cool down exercises will really help you make the most out of your workout classes.
EXERCISE #1: CROSS LEG STANDING SIDE BEND
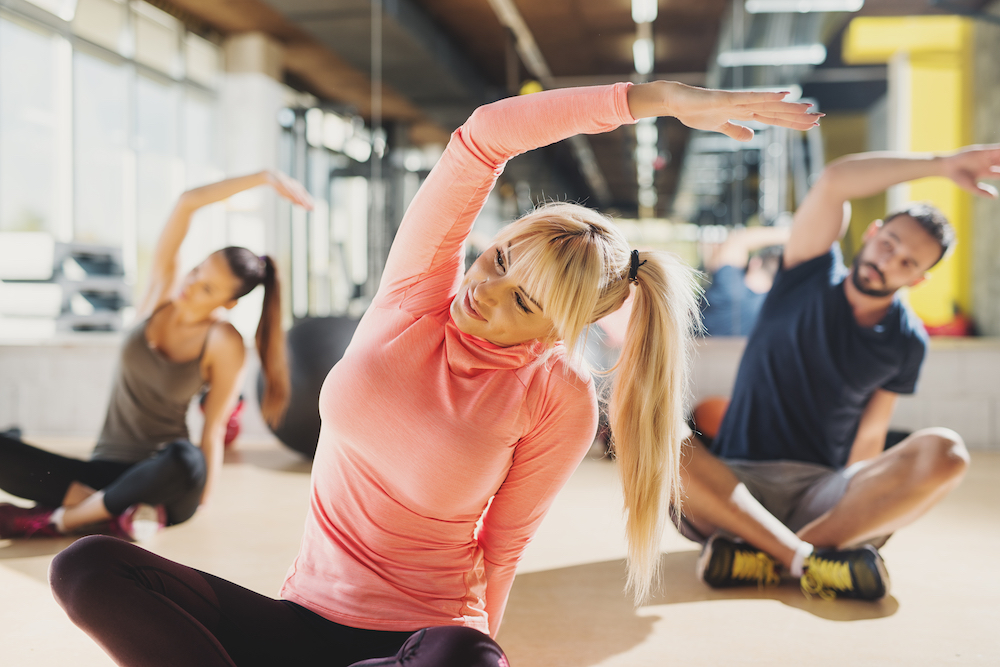
To begin this exercise, stand with your feet hip width apart. Then to move your left foot so that it is lined up behind your right foot. This will create a cross leg stance. From there, place your right hand on your right hip and put your left hand into the air. Lean toward the right, pushing out your left hip and creating a nice stretch. Hold for about 30 seconds while you focus on deep breathing. Once complete, switch up your feet and hands and do it on the other side.
You should feel this stretch in your hips, TFL (tensor fasciae latae), serratus anterior and the obliques.
EXERCISE #2: SPLIT STANCE FORWARD FOLD
For this exercise, begin with your feet placed hip width apart. With one leg, take a step back, ensuring that your feet are both pointing forward. This will create a staggered stance. Then hinge forward from the hips while ensuring that your hips are square to the floor. Do this by leading with the crown of your head and keeping a long, neutral spine. Fold only until you begin to feel the initial stretch in your first hamstring. Hold for 30-60 seconds, and then switch sides.
For this stretch, you should primarily feel the stretch focused in your hamstrings.
EXERCISE #3: THREAD THE NEEDLE
To set up this exercise, begin down on your hands and knees. Position your knees so that they are directly beneath your hips and have your hands square to your shoulders. Take one hand, palm up, and thread it underneath your opposite shoulder. On the same side as the threaded hand, drop the shoulder, allowing for maximum rotation. Stretch only as far as is comfortable for you. Hold for about 30 seconds, and then switch sides.
You should feel this stretch primarily in your chest, shoulders, glutes and hips.
EXERCISE #4: REVERSE LUNGE WITH LATERAL FLEXION
For this next exercise, start off by standing tall with your hands on your hips. Then, take a step back, creating a low lunge. Once stable, take the hand on the same side as your back leg and put it straight up. Then bend in toward your opposite side, stretching as far as is comfortable for you. Hold for about 15 seconds, stand back up, and repeat on the other side. Alternate an even amount of times until you feel as though you have had an adequate stretch.
For this stretch, you should feel it in your hip flexors, wrists, shoulders and obliques.

EXERCISE #5: SUPINE SPINAL TWIST
Grab a yoga mat for this exercise because you are going to begin by lying on your back. Lay your arms out to your sides in a ‘T’ pose and pull your knees up so that they are bent in front of you. Then, keeping your knees together, slowly lower your legs down to one side. Ensure that you are keeping your opposite shoulder flat on the floor. With the hand that is on the same side as your knees, push your legs down to deepen the stretch. Hold for about thirty seconds, and then switch to the other side.
Pecs, chest, spine and glutes are all the target areas for this exercise.
EXERCISE #6: SEATED FIGURE 4
We know how tiring our workout classes in Kansas City can be, and that’s why this final exercise features the use of a chair. Once seated in your chair, you will bring one foot up to rest on the opposite knee, creating the visual shape of a ‘4’ with your legs. The ankle or lower shin should be resting on your lower thigh area. Keeping your back straight, pull that knee up as far as you can. Then, hinge your hips forward and bring your chest to your knee. Hold for 15 seconds. Once complete, switch sides and repeat those motions.
For this exercise, you will feel it in your glutes, hips, hamstring, spine, shoulders and upper back.
WORKOUT CLASSES IN KANSAS CITY
If you haven’t signed up for our group fitness classes, now is your chance! With a membership to Woodside, you will have access to a robust schedule of classes. There are many different ones to choose from, ranging from those for beginners all the way up to more advanced levels. Each course is led by one of our talented and energetic instructors. Yoga, cardio, indoor cycling, weight lifting, Pilates and so much more await you at Woodside!
Be sure to contact us today if you are interested in learning more about us! We would be happy to answer any questions you may have and even set up a time for you to take a tour of our beautiful facility.